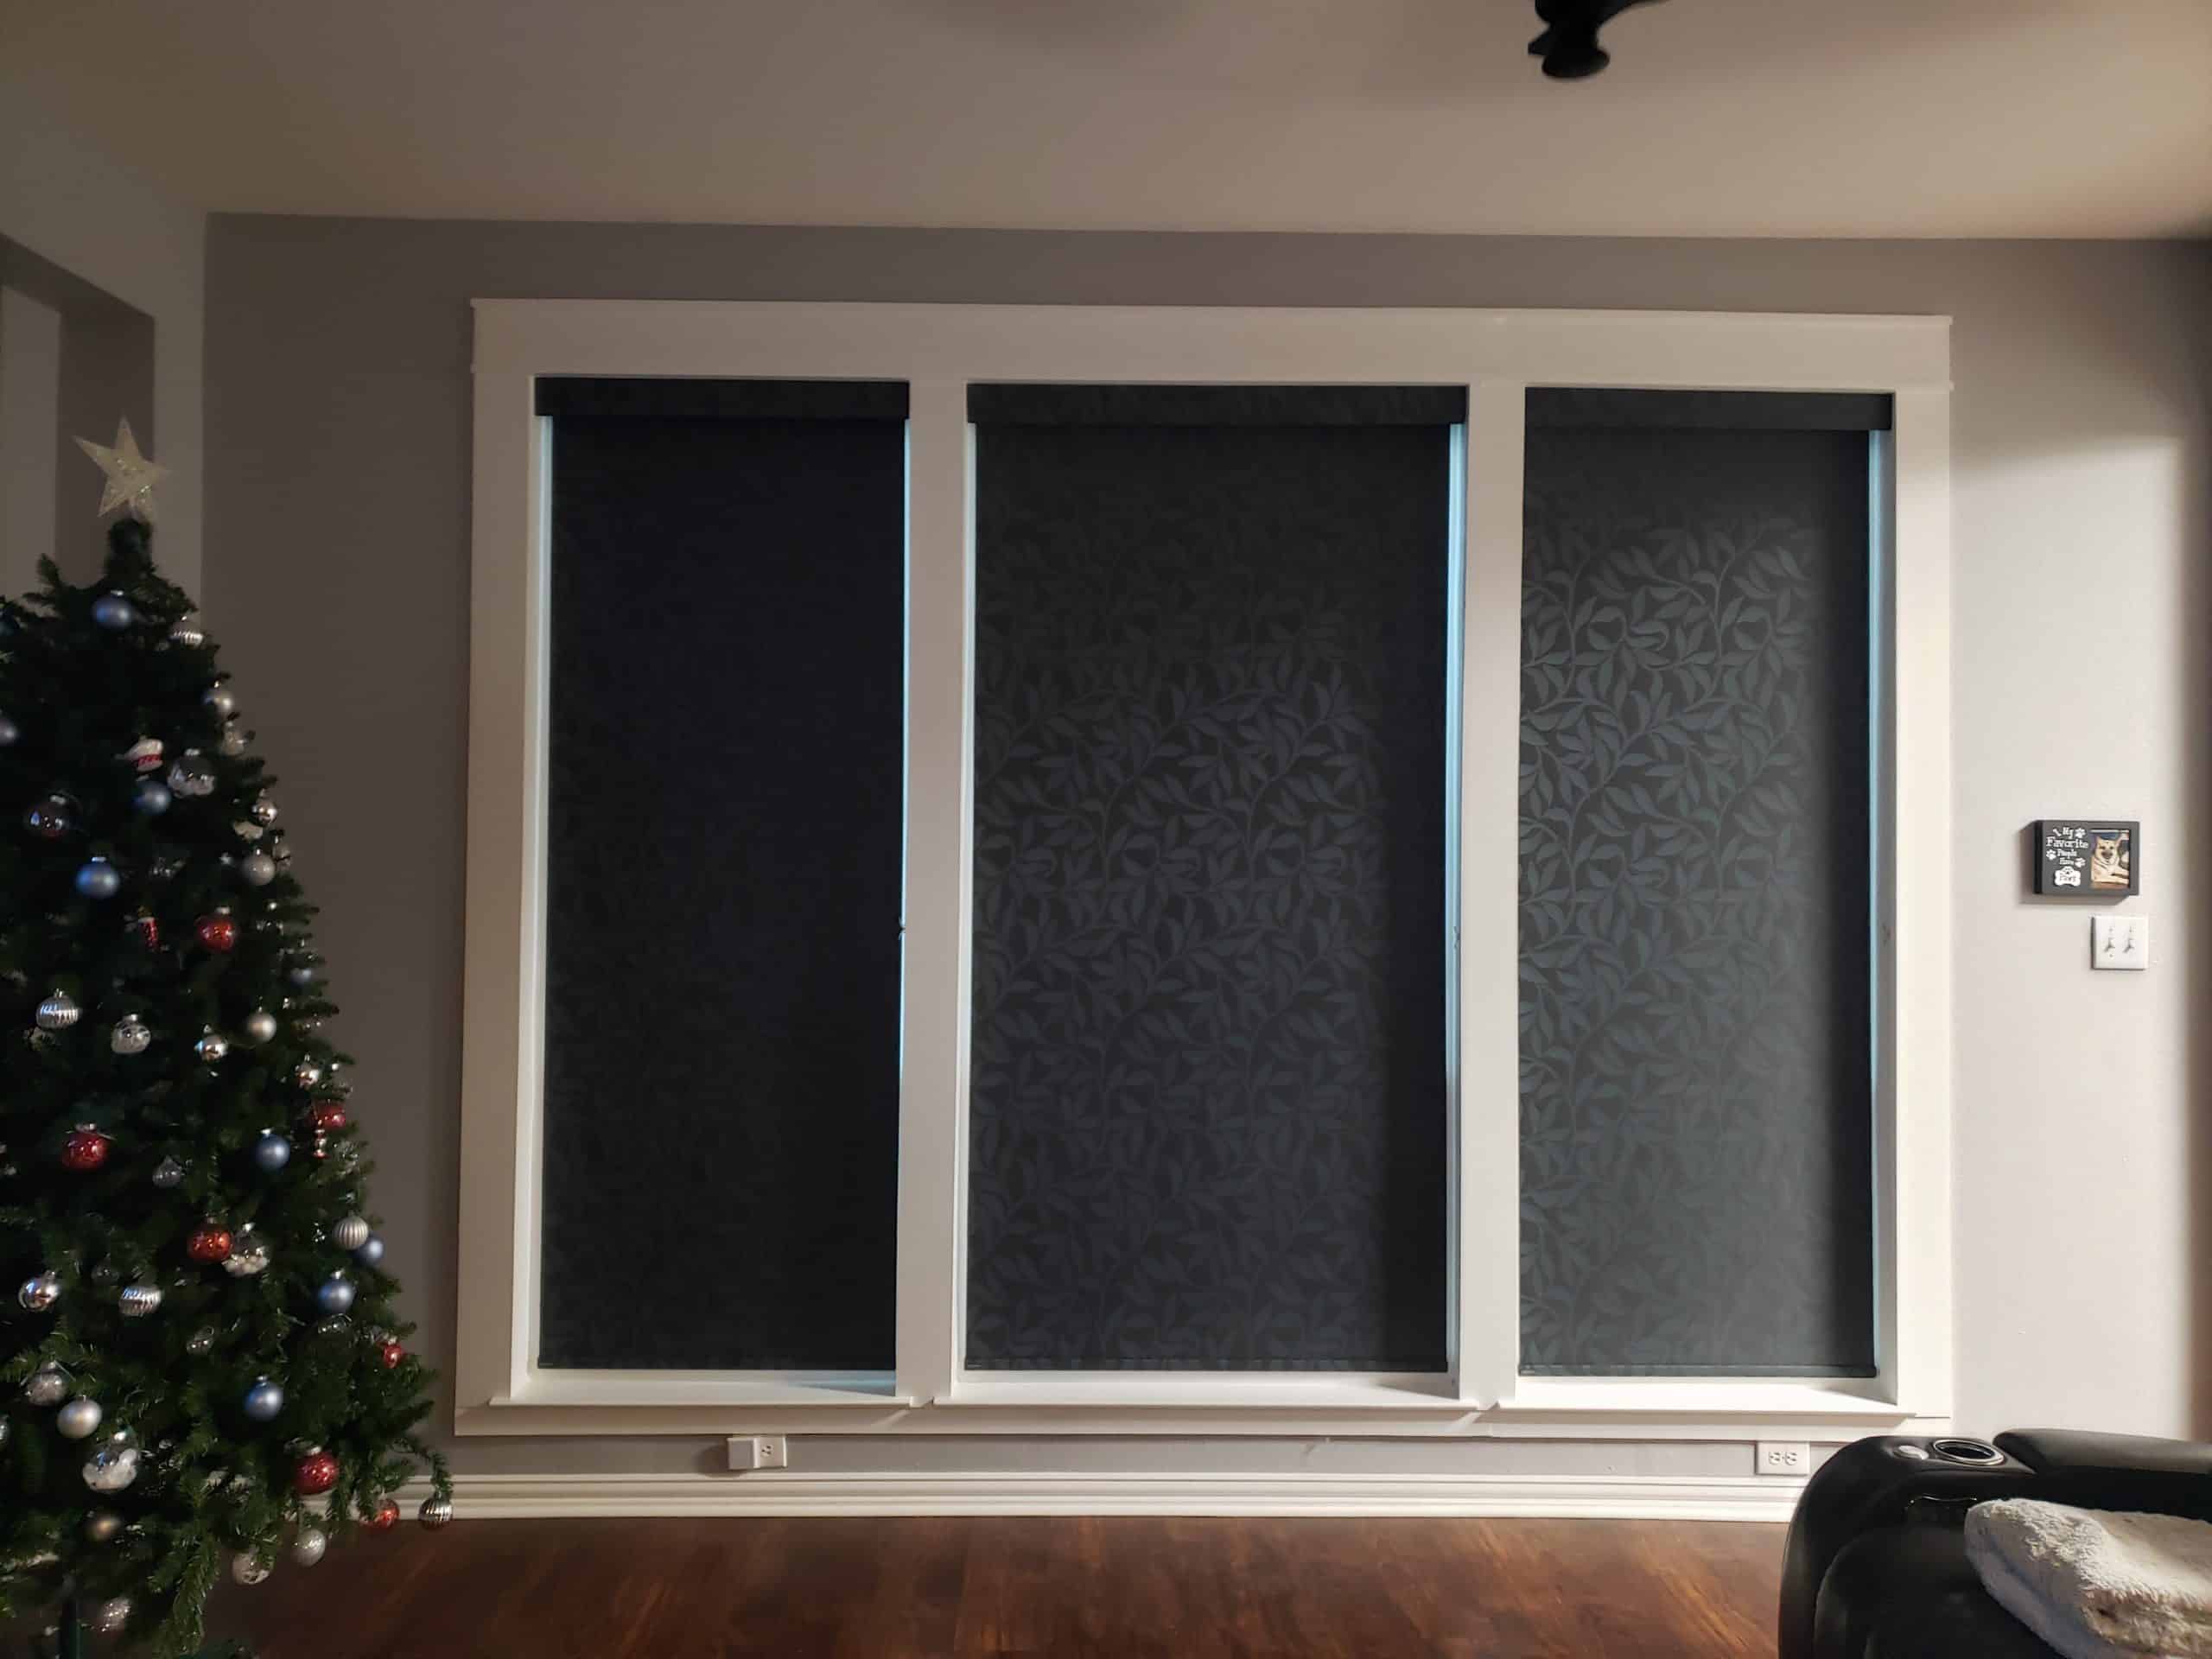
Broken blinds, faded slats, jammed cords — here's how to figure out whether fixing or replacing is actually worth your time and money.
Share:
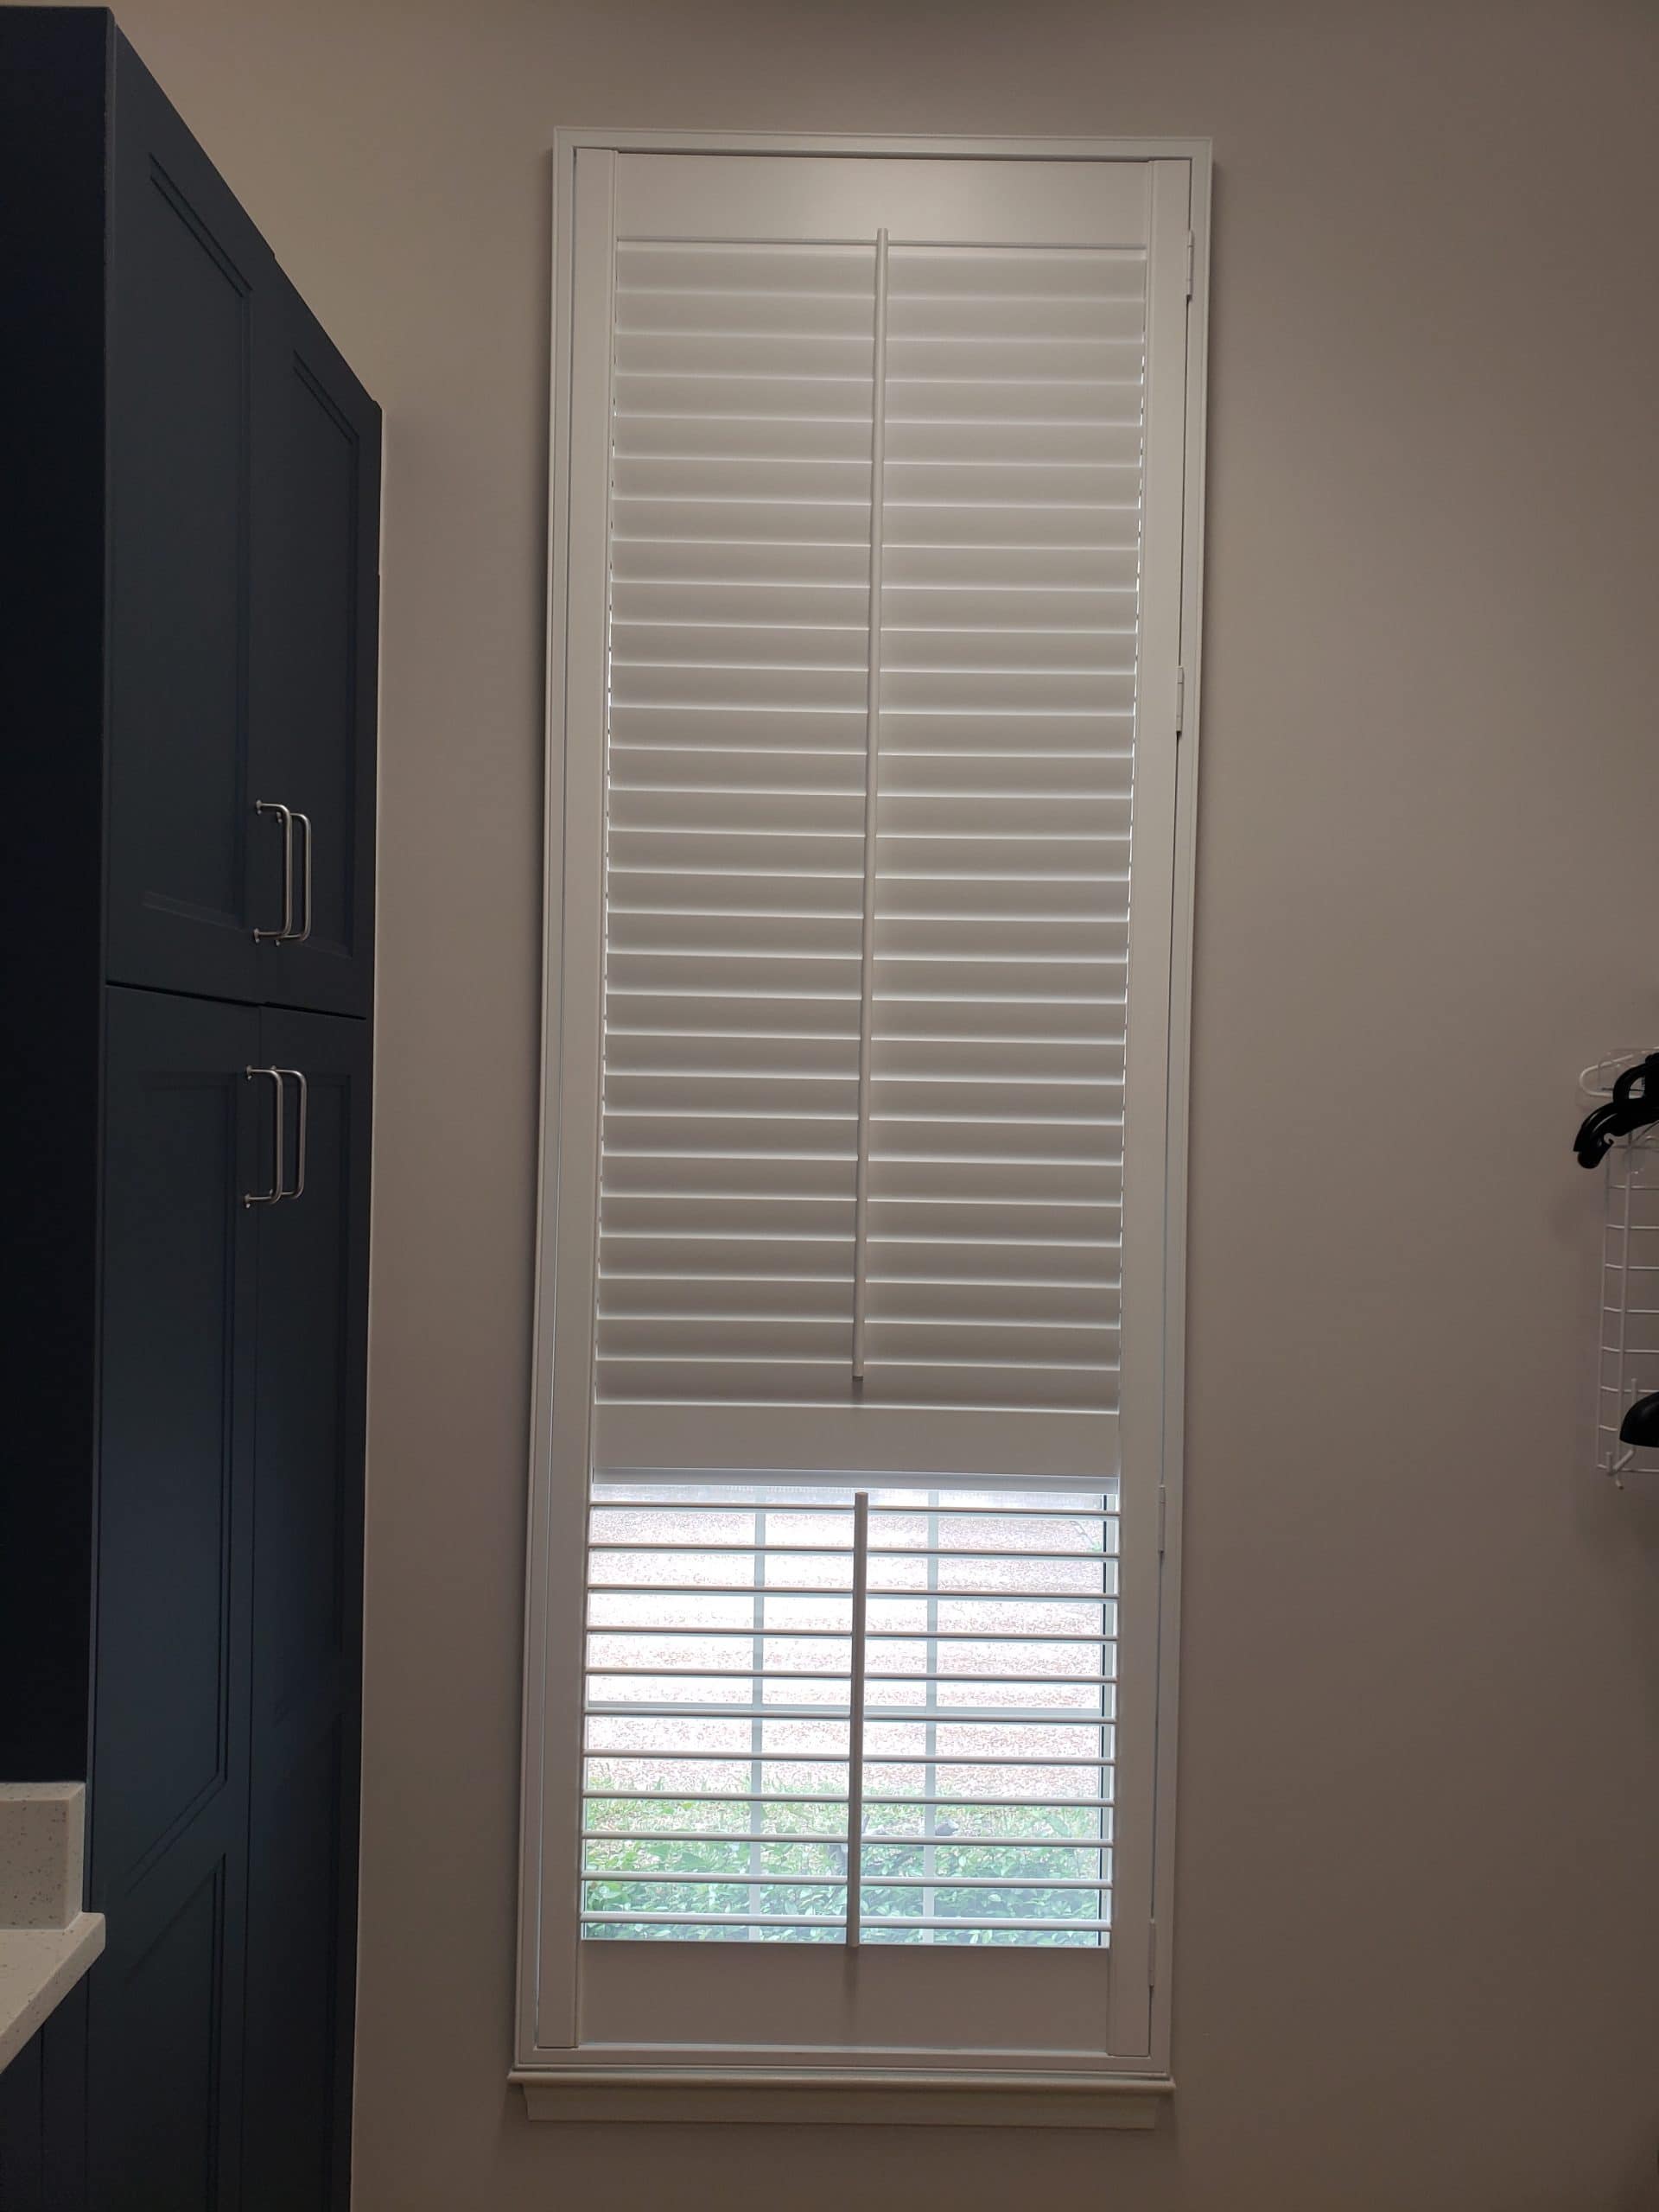
A cord snaps. A slat cracks. The whole mechanism jams halfway up and won’t budge. It’s one of those small household problems that feels minor until you’re standing there at 7 a.m. trying to get some light in the room and nothing’s cooperating.
The question most homeowners ask at that point is simple: do I fix this or just replace it? The answer isn’t always obvious — and the wrong call in either direction costs you money. We’ve helped hundreds of Tarrant County homeowners work through this exact decision, and the process is more straightforward than most people think. This page breaks down exactly how to think through that decision, what professional installation actually involves, and what it costs to do it right.
The most useful benchmark in this space is what’s sometimes called the 50% rule: if the cost to repair your blinds exceeds half the cost of replacing them, replacement is almost always the better value. It sounds simple, and it is — but most homeowners never think to apply it because they don’t know what either option actually costs.
Professional window blind repair typically runs $100–$120 for the first set, with additional sets coming in around $40–$50 each. New blind installation, depending on material and window count, averages $55–$170 per window in labor and materials. That gap matters. A broken cord on a solid faux wood blind? Usually worth repairing. A warped, UV-faded plastic blind that’s already six years old? The math usually points toward replacement.
The other factor people overlook is material condition. Here in Tarrant County, where summer temperatures regularly push past 100°F and UV exposure is intense from April through October, cheaper vinyl and plastic blinds degrade faster than the national average. A blind that might last eight years in a cooler climate might realistically need replacing in four or five years here — sometimes less if it’s in a south- or west-facing room that takes the full afternoon sun. That’s not a complaint about our weather; it’s just the reality of how materials age in North Texas.

Not all blind problems are equal. Some are genuinely easy and cost-effective to fix. Others look fixable on the surface but signal a deeper issue that a repair won’t solve for long.
Broken cords and chains are the most common repair request we see. The blind itself may be in perfectly good shape — the mechanism just needs to be restrung. Same with a single cracked or missing slat on an otherwise sound set of blinds. If the material is still in good condition and the hardware is solid, replacing one or two slats or restringing the lift cord is a reasonable repair that extends the life of the blind without a significant cost.
Loose or failing mounting hardware is another fixable issue — as long as the wall or window frame isn’t damaged. Brackets pull out of drywall more often than people expect, especially in homes where the original installation was done without proper anchoring. We can remount the hardware correctly, which is a much cheaper fix than a full replacement.
Where repair stops making sense is when the lifting mechanism has failed entirely, when the material itself has warped or discolored from heat and UV exposure, or when the blind is simply outdated and no longer fits the room aesthetically. In those cases, you’re not just fixing a functional problem — you’re putting money into something that’s already past its useful life. Most blinds have a realistic lifespan of six to eight years under normal conditions. Premium wood blinds, when properly maintained, can last twenty years or more. Budget options from big-box stores often start showing wear in three to five years, especially in Tarrant County conditions.
One thing worth knowing: sourcing replacement parts for older blinds can be genuinely difficult. Components on blinds that are eight or ten years old sometimes aren’t manufactured anymore, and even when they are, matching finishes and hardware styles is hit or miss. If you’re spending time hunting down parts for a blind that’s already showing its age, that’s usually a sign the repair path isn’t worth pursuing.
There’s a certain appeal to fixing a blind yourself. The parts are inexpensive, there are plenty of YouTube tutorials, and it feels like the kind of thing a capable homeowner should be able to handle. Sometimes that’s true. A simple slat swap on a horizontal blind, for instance, is usually manageable if you’re patient and have the right replacement part.
But cord and mechanism repairs are a different story. The internal components of most blinds — the cord lock, the lift mechanism, the ladder system on venetian-style blinds — are fiddly to work with even for people who do this regularly. A small mistake during reassembly can leave the blind non-functional, or worse, create a cord tension issue that makes the blind unsafe, particularly in homes with young children. The Window Covering Safety Council has established clear guidelines around corded blind safety for a reason.
The other DIY risk that doesn’t get enough attention is installation accuracy. A misaligned bracket, an incorrectly measured inside mount, or an improperly anchored hardware point can prevent a blind from functioning correctly from day one. The margin for error is genuinely small — in some window configurations, a fraction of an inch makes the difference between a blind that hangs cleanly and one that binds, gaps, or pulls away from the wall over time. Fixing a bad DIY installation often costs more than a professional installation would have in the first place.
We come from a construction background — not just window treatment retail. That means when we assess a window, we’re thinking about wall composition, frame integrity, and mounting surface, not just which bracket looks right. It’s a different level of precision, and it shows in the finished result. For homeowners in newer construction neighborhoods like those in Mansfield or Keller — where builder-grade blinds are standard and often already failing within two or three years — getting the replacement installation done right the first time matters a lot more than saving a few dollars on a DIY attempt.
When people think about professional blind installation, they often picture someone showing up, drilling a few holes, and hanging a blind. That’s part of it. But a quality installation involves quite a bit more than that, and the difference between a professional job and a rushed one is visible every time you look at your windows.
A proper installation starts with precise measurement — every window, every time. Custom-fitted blinds are measured to your exact window dimensions, which eliminates the gaps, light leaks, and awkward sizing that come with off-the-shelf products. From there, the right mount type (inside or outside), bracket placement, and hardware anchoring all need to be matched to your specific wall and window frame conditions. It’s not complicated work, but it requires attention and experience to do consistently well.
We back every installation with warranty coverage, which matters more than people realize until something goes wrong. If a bracket fails or a component doesn’t perform the way it should, you shouldn’t have to pay twice to get it fixed.

Drapery installation gets underestimated regularly. People assume it’s just hanging a rod and clipping on some panels. In reality, a professional drapery installation involves a specific sequence of decisions that significantly affect how the finished window looks — and most of those decisions are easy to get wrong without experience.
Rod placement is the first one. The height and width at which a curtain rod is mounted changes how tall and wide a window appears. Mounting a rod too close to the window frame makes a room feel smaller. Mounting it too high without the right hardware support creates a rod that bows under the weight of heavier fabrics. Getting this right requires knowing the room, the fabric weight, and the visual proportions you’re working with.
Hem length is another detail that separates a professional result from a DIY one. Whether panels should puddle, kiss the floor, or hang with a precise quarter-inch clearance depends on the fabric, the room’s function, and your preference — but it also depends on accurate measurement. A panel that’s even slightly too short looks unfinished. One that’s too long in the wrong fabric becomes a tripping hazard or a dust collector.
For heavier custom draperies — the kind that use substantial fabric and require proper wall anchoring — the stakes are higher. Inadequately supported hardware can pull out of drywall over time, particularly in Tarrant County’s older housing stock where wall composition varies considerably. We handle custom fabric installations regularly, including in homes across Fort Worth and Arlington where the window sizes and architectural details require a more tailored approach than standard off-the-shelf hardware allows. The goal is always a result that looks intentional and holds up — not just something that looks fine on installation day and starts pulling away from the wall six months later.
Cost is usually the first thing people want to know, and it’s a fair question. The honest answer is that blinds installation cost varies based on window count, material, and the complexity of the installation — but there are useful benchmarks that help frame the decision.
For professional installation including materials, most homeowners should expect to pay somewhere in the range of $120–$580 per window, depending on what you’re installing. Standard aluminum or faux wood blinds sit toward the lower end of that range. Custom wood blinds, motorized treatments, or exterior roller shades — which require more technical installation — sit toward the higher end. Labor alone for a standard installation typically runs $15–$50 per window, which is a relatively small portion of the total cost when you’re investing in quality materials.
The comparison that matters most isn’t professional installation versus DIY — it’s quality installation versus having to redo a bad one. A misaligned mount, an incorrectly sized blind, or hardware that pulls out of the wall within a year all require correction, and that correction costs money. The “savings” from skipping professional installation often evaporate the first time something needs to be fixed.
There’s also a longer-term value consideration that’s easy to miss. Homeowners who invest in quality materials — installed correctly from the start — are typically not replacing their window treatments every four or five years. Premium products, properly installed, can last fifteen to twenty years. Budget treatments that get replaced repeatedly end up costing significantly more over the life of a home. For homeowners in higher-value neighborhoods like Southlake or North Richland Hills, where the home itself represents a substantial investment, the math on quality window treatments is usually straightforward.
We offer free estimates, so there’s no guesswork before you commit to anything. You’ll know exactly what the job involves and what it costs before any work begins.
The repair-versus-replace decision doesn’t have to be complicated. Apply the 50% rule, factor in the age and condition of your blinds, and be honest about whether the material has held up to Tarrant County conditions. If repair is the right call, we can handle it cleanly and cost-effectively. If replacement makes more sense, a quality installation done right the first time is worth every dollar.
What matters most is working with someone who’ll give you a straight answer — not push you toward whichever option generates more revenue. That’s the approach we take with every job, whether it’s a single blind that needs restringing or a full home outfitted with custom treatments from the ground up.
If you’re in Tarrant County and trying to figure out the right next step, reach out to A Plus Shutters & Shades. We’re happy to take a look, give you an honest assessment, and help you make a decision that actually makes sense for your home.
Article details:
Share:
Continue learning: